Angular Beginner's Guide - Part 1
Welcome to Your First Step in Angular 🚀

Are you curious about Angular but overwhelmed by all the complex
terms and setup guides? Don't worry—you're in the right place! 🎯 This blog series is
designed especially for beginners who want to build modern, powerful web
applications using Angular.
Introduction
to Angular🅐
Angular is an open-source
web application development framework
maintained by Google. It is widely
used to create dynamic, single-page web
applications, SPAs, and mobile applications. Angular provides the developer
with a powerful toolkit that can be used to create feature-rich, scalable,
high-performance applications.
Single-Page Applications (SPAs)
SPAs are web applications that load only one HTML page and
dynamically update the content of that page when events in an application
occur. Unlike multi-page web applications, SPAs can be much smoother since they
avoid having to reload the entire page every time a different screen is to be
viewed.
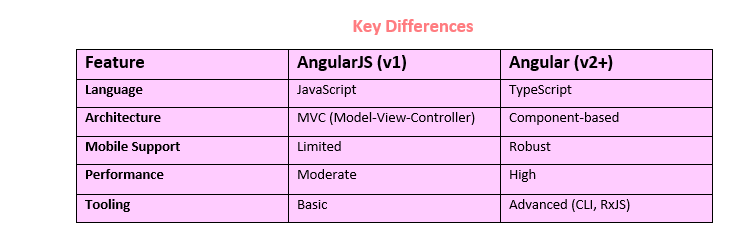
Angular
vs. AngularJS
AngularJS
(released in 2010) was the first version of Angular, commonly referred to as Angular
v1. It introduced the concept
of two-way data binding and a declarative approach to building web
applications. However, AngularJS had limitations in performance and scalability
for modern web applications.
Angular(released
in 2016) is a complete rewrite of AngularJS and is often referred to as Angular
v2+. Unlike AngularJS, Angular is built with modern web technologies,
such as TypeScript, and offers a
component-based architecture, improved performance, and enhanced development
tools.
Why Was Angular v3 Skipped?
Angular’s transition from version 2 to version 4 skipped
version 3 altogether. The reason lies in version mismatches across the Angular
libraries during development. For example:
@angular/core v2.3.0
@angular/compiler v2.3.0
@angular/compiler-cli v2.3.0
@angular/http v2.3.0
@angular/router v3.3.0
The router library had already progressed to version 3.x while other libraries were still in version 2.x. To avoid confusion among developers, the Angular team decided to align all library versions by jumping directly to version 4. This ensured consistency across the framework and simplified versioning.

Framework
vs. Library

Why Use Angular?💁
👉Component-Based
Architecture
Encourages reusability and modular design,
simplifying development and maintenance.
👉Fully Featured
Framework
Provides everything needed to build
applications, including routing, state management, forms, and more.
👉Unit Testing Enabled
Built-in support for unit testing with tools
like Jasmine and Karma ensures robust and reliable applications.
👉Developed by Google
Maintained by Google and supported by
Microsoft TypeScript, ensuring continuous updates and compatibility with modern
standards.
👉Large Community
A vast and active community provides extensive
resources, plugins, and support for developers.
What is TypeScript?
TypeScript is a programming language developed by Microsoft
that builds on JavaScript by adding static typing and other advanced features.
It is widely used with Angular to enhance code quality and maintainability.
Key Features of TypeScript,📝
✔Static Typing
Helps catch
errors during development by specifying data types.
✔Enhanced Tooling
Offers autocompletion, type checking, and
refactoring in modern IDEs.
✔Better Code Maintenance
Makes large-scale projects easier to manage.

What is Node.js?
Node.js is a runtime environment that allows developers to
execute JavaScript code outside of a web browser. It uses the V8 JavaScript
engine, which is the same engine used by Google Chrome, to provide fast and
efficient execution.
Key Features of Node.js,📑
✔JavaScript is Everywhere
Enables developers
to use JavaScript for both client-side and server-side development.
✔Package Management
Provides tools, such as npm (Node Package Manager), to install and manage dependencies. This
includes tools like Angular CLI, which is essential for Angular development.
✔Non-blocking I/O
Built on an asynchronous event-driven model,
Node.js ensures high performance and scalability for real-time applications.

How to Install Angular
Step 1 ⇨ Visit
the Official Angular Website
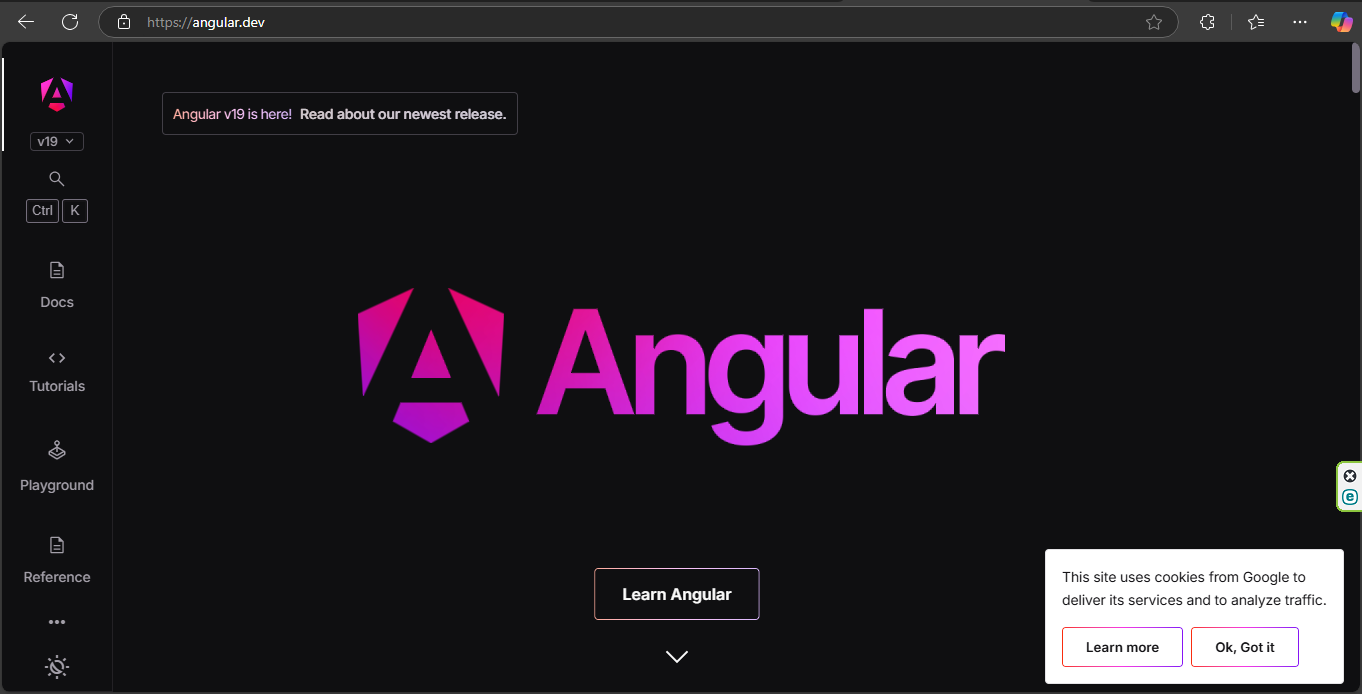
To get
started with Angular, the first thing you need to do is visit the official Angular website. This site has everything you
need to learn about Angular, including documentation, tutorials, and helpful
guides.
Once you’ve opened the Angular.dev website, you’ll find a clean and well-organized interface.
Step 2 ⇨ Navigate to the Docs tab Installation Part

2.1 Play Online
Play Online with Angular Playground allow developers
to experiment with Angular directly in their browsers without any setup.
![]() Steps↷
Steps↷
1. Navigate to the Playground option in the Angular documentation.
2. Click on Open on Playground to access an interactive Angular environment.
3. This allows developers to test Angular
code snippets and see results in real time, making it a quick way to explore
Angular without installing anything locally.

This image shows the Angular Playground interface, where you can write and execute
Angular code.
Key
Features,👇
Code
Editor- Developers can write Angular code, such as components or modules.
Preview
Section- Displays the live output of the written Angular code.
Templates-
Predefined templates (like "Hello World") to help you get started
quickly.
Console
and Terminal- For debugging and simulating terminal commands.
2.2 Local Installation of Angular

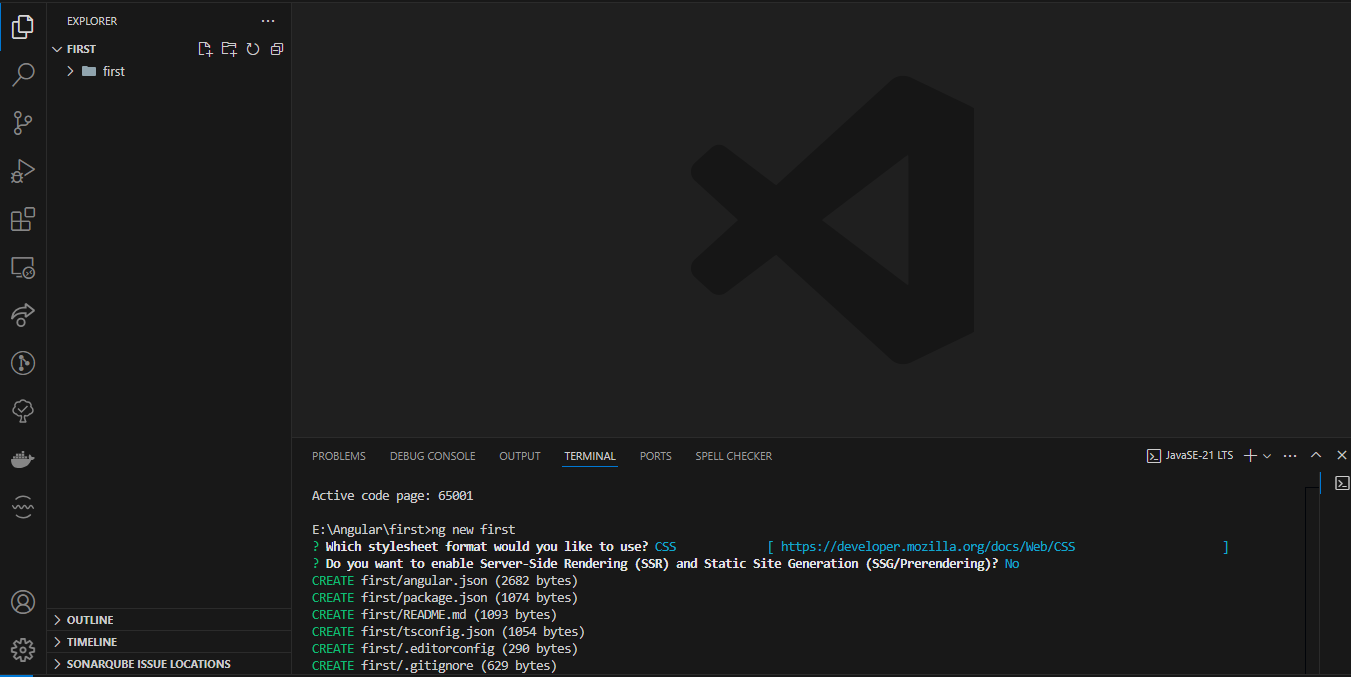
Steps
1.Prerequisites
Install
Node.js (v18.19.1 or newer) to manage dependencies.
Use
a text editor like Visual Studio Code
for coding.
Have
a terminal to execute Angular CLI
commands.
2. Installing Angular CLI
Run
the command
npm
install -g @angular/cli
This
installs the Angular CLI globally, allowing you to create and manage Angular
projects.
3. Create a New
Project
Use
the Angular CLI command
ng new project-name
Replace
‘project-name’ with the desired name for your Angular project.

4. Run the Application
Navigate
to the project directory
cd project-name
Start the development server:
ng serve
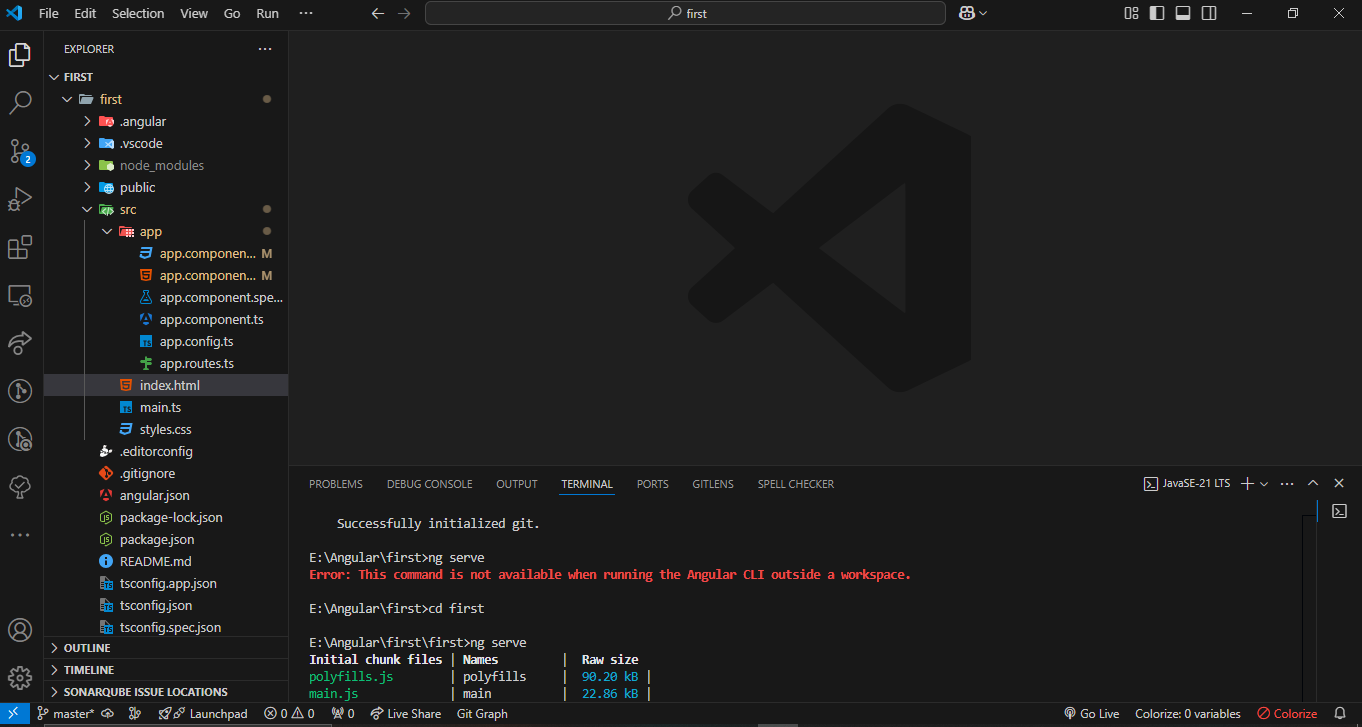

Open a browser(ctrl+click) and go to http://localhost:4200
to view your Angular application.

Angular
Project File Structure
1.
src
This folder
contains the main source code of your Angular application.
app
This is where your application’s components,
modules, and routes live.
app.component.ts -The main component file containing the logic of your app.
app.component.html-The
HTML file defining the template (UI) of the component.
app.component.css
-The stylesheet to style the component.
app.routes.ts -Defines the routing
for your application.
index.html
The main HTML file that Angular
injects your app into.
main.ts
The starting
point of your Angular app. It bootstraps the main application module.
styles.css
Global styles for
your app.
2.
.gitignore
Specifies files and
folders that Git should ignore when you commit your project.
3.
angular.json
The main
configuration file for your Angular project. It contains settings for build and
serve commands.
4.
package.json
Lists all the
dependencies and scripts required for your Angular project.
5. tsconfig.json
The configuration
file for the TypeScript compiler.
How
to Customize Your Angular app.component.html
Remove Default Content & Add Your Own Code


Comments
Post a Comment